1. Understanding MySQL Database
MySQL is part of the LAMP (Linux, Apache, MySQL, PHP/Python/Perl) stack and is known for its reliability, security, and ease of use. It powers millions of applications, from websites to enterprise-level systems, making it a must-know for anyone involved in database management or software development.
2. System Requirements
Before starting the installation, make sure your system meets the following requirements:
- Operating System: Windows 10/11, macOS Ventura or later, or Linux distributions such as Ubuntu, Debian, or CentOS.
- Memory: At least 1 GB of RAM (2 GB recommended).
- Disk Space: Minimum of 500 MB of free disk space.
- Internet Connection: For downloading MySQL and other dependencies.
How to Install MySQL Database: A Comprehensive Step-by-Step Guide 2024
MySQL is an essential relational database management system (RDBMS) that powers many of the world’s applications, from small projects to large-scale enterprise software. Installing MySQL is the first step in developing and managing database-driven applications. This comprehensive guide will walk you through the installation process on Windows, macOS, and Linux.
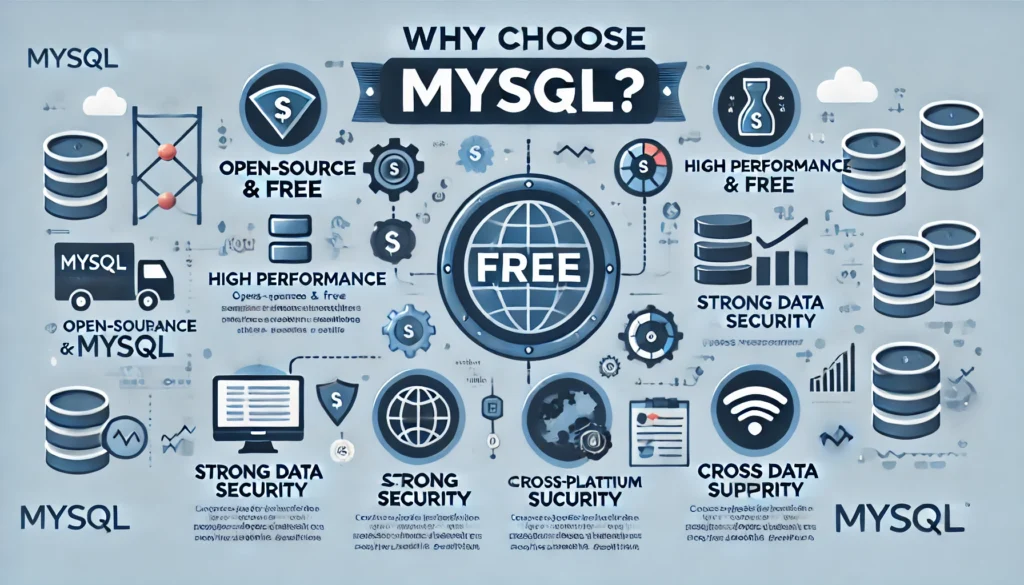
Why Choose MySQL?

MySQL is highly valued for its:
- Ease of use: Simple installation and user-friendly interface.
- High performance: Excellent read/write speeds for data handling.
- Scalability: Perfect for small projects and large applications alike.
- Security: Robust features for data security and access control.
- Cross-Platform Compatibility: Runs on various operating systems like Windows, Linux, and macOS.
Prerequisites
Ensure the following before starting:
- Administrative privileges: Necessary to install software and configure the system.
- Hardware requirements: Check that your system meets the minimum specs.
- Internet connection: Required to download the installer and any dependencies.
Step 1: Download MySQL

Visit the<a href=”http://<!– wp:list-item –> <li>Visit the <a href=”https://dev.mysql.com/downloads/installer/”>official MySQL website</a>.</li> official MySQL website.
Choose the installer for your OS:
Windows: Download the .msi file.
macOS: Select the DMG Archive.
Linux: Choose the package that matches your distribution (e.g., .deb for Ubuntu, .rpm for CentOS).

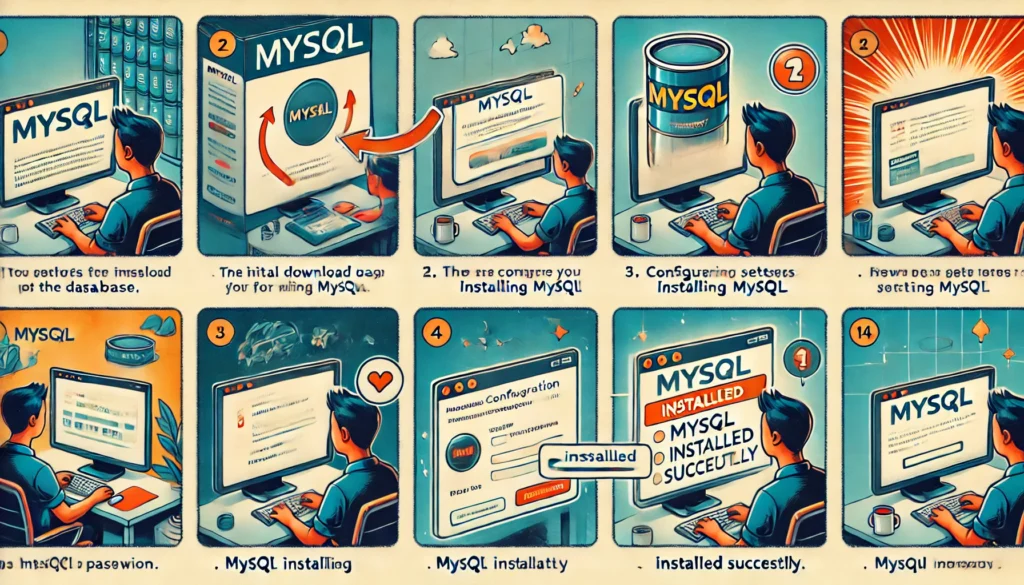
Step 2: Install MySQL on Windows
- Run the Installer: Double-click the downloaded
.msifile to start. - Choose Setup Type:
- Developer Default: Installs MySQL server, Workbench, and other useful tools.
- Server Only: Installs just the server.
- Custom: Customize the components you want.
- Configure MySQL Server:
- Choose the server type (standalone, cluster, etc.).
- Select a port number (default is 3306).
- Configure authentication method (strong password encryption is recommended).
- Set Up Authentication:
- Choose between legacy or strong password encryption.
- Set the root password and create additional user accounts if needed.
- Complete Installation:
- Follow the prompts to finish the process.
- Start the MySQL server and confirm that the installation was successful.
Step 3: Install MySQL on macOS
Open the DMG Archive:
- Double-click the downloaded DMG file and drag MySQL to the
Applicationsfolder.
Run the Installer:
- Follow the on-screen instructions to set up MySQL.
Configure MySQL Server:
- Set up a root password during the configuration process.
Start MySQL:
- Open Terminal and run:bashCopy code
sudo /usr/local/mysql/support-files/mysql.server start
Add MySQL to System Preferences:
- You can configure MySQL to start automatically by adding it to your system preferences.
Step 4: Install MySQL on Linux
For Debian/Ubuntu:
- Update the package index:bashCopy code
sudo apt update - Install MySQL server:bashCopy code
sudo apt install mysql-server - Secure the installation:bashCopy code
sudo mysql_secure_installation- Follow the prompts to enhance security (e.g., setting a root password, removing test databases).
For Red Hat/CentOS:
- Install MySQL repository:bashCopy code
sudo yum localinstall https://dev.mysql.com/get/mysql80-community-release-el7-3.noarch.rpm - Install MySQL server:bashCopy code
sudo yum install mysql-server - Start MySQL service:bashCopy code
sudo systemctl start mysqld
Step 5: Post-Installation Configuration
- Configure MySQL to Start at Boot:bashCopy code
sudo systemctl enable mysql - Create Additional User Accounts:sqlCopy code
CREATE USER 'user'@'localhost' IDENTIFIED BY 'password'; GRANT ALL PRIVILEGES ON *.* TO 'user'@'localhost' WITH GRANT OPTION; FLUSH PRIVILEGES; - Optimize Security:
- Regularly update user passwords.
- Limit user access with specific privileges.
- Enable SSL/TLS for secure connections.
Step 6: Verifying MySQL Installation
- Open your command line or terminal.
- Log in to MySQL using:bashCopy code
mysql -u root -p - After entering the root password, you should see the MySQL prompt:shellCopy code
mysql>
Step 7: Setting Up a Basic Database
Create a simple database and table to verify your setup:
sqlCopy codeCREATE DATABASE testdb;
USE testdb;
CREATE TABLE users (
    id INT AUTO_INCREMENT PRIMARY KEY,
    name VARCHAR(100),
    email VARCHAR(100)
);
INSERT INTO users (name, email) VALUES ('John Doe', 'john@example.com');
SELECT * FROM users;
Port Conflicts:Verify that port 3306 is not being used by another application:bashCopy codenetstat -an | grep 3306
Access Denied Errors:Double-check that user accounts and passwords are correct.Reset the root password if necessary.Firewall Configurations:Ensure MySQL’s port is open:bashCopy codesudo ufw allow 3306/tcp
Step 8: Useful MySQL Commands for Beginners
- Show Databases:sqlCopy code
SHOW DATABASES; - Select Database:sqlCopy code
USE sampledb; - Show Tables:sqlCopy code
SHOW TABLES; - Describe Table:sqlCopy code
DESCRIBE users; - Delete a User:sqlCopy code
DROP USER 'username'@'localhost';
Troubleshooting Common Issues
- Port Conflict: Ensure port 3306 is not in use by other applications.
- Access Denied for User: Double-check user privileges and passwords.
- Firewall Restrictions: Ensure MySQL’s port is allowed through the firewall:bashCopy code
sudo ufw allow 3306/tcp
Additional Tips
- MySQL Workbench: Use this graphical tool for database design, query execution, and administration.
- Backup Strategies: Schedule regular backups with
mysqldumpor use MySQL’s native tools for data recovery. - Performance Tuning: Adjust
my.cnformy.iniconfigurations for optimal performance based on your workload. - Edit Configuration File:
- For Windows, edit
my.ini; for Linux/macOS, modifymy.cnf. - Tune Memory Usage:
- Adjust
innodb_buffer_pool_sizefor better performance. - Backup Strategies:
- Use
mysqldumpfor regular backups:bashCopy codemysqldump -u root -p sampledb > sampledb_backup.sql - Enable Query Caching:
- Set up query caching to reduce load times for frequently run queries.
Using MySQL Workbench
MySQL Workbench is a powerful GUI tool that simplifies database management:
- Install:
- Download from MySQL Workbench official page.
- Key Features:
- Database design, visual data modeling, and query execution.
- Performance tuning and monitoring tools.
Conclusion
With MySQL successfully installed, you’re now ready to create databases and start managing data. Remember to keep your server updated and secure by applying patches and following best practices for database management .
Installing MySQL is an essential step for any developer or database administrator starting with data-driven projects. Whether you’re working on a small web app or a large-scale system, MySQL provides the foundation for efficient data storage and management. Follow the steps outlined above to set up MySQL on your preferred operating system, and you’re ready to build, test, and deploy your applications.
Feel free to explore MySQL’s vast ecosystem and integrate it into your data-driven projects. Don’t forget to keep learning and applying best practices to ensure a robust and secure database environment.
Call to Action
If you found this guide helpful, make sure to share it with others and subscribe to our newsletter for more tech insights and database tutorials.